


-
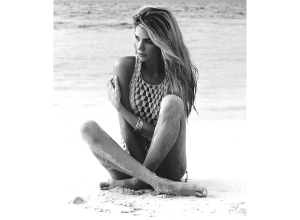 Seabyelle is inspired by wanderlust,natural beauty & all of the
positive things in life...


-

DIY MACARON TOWER

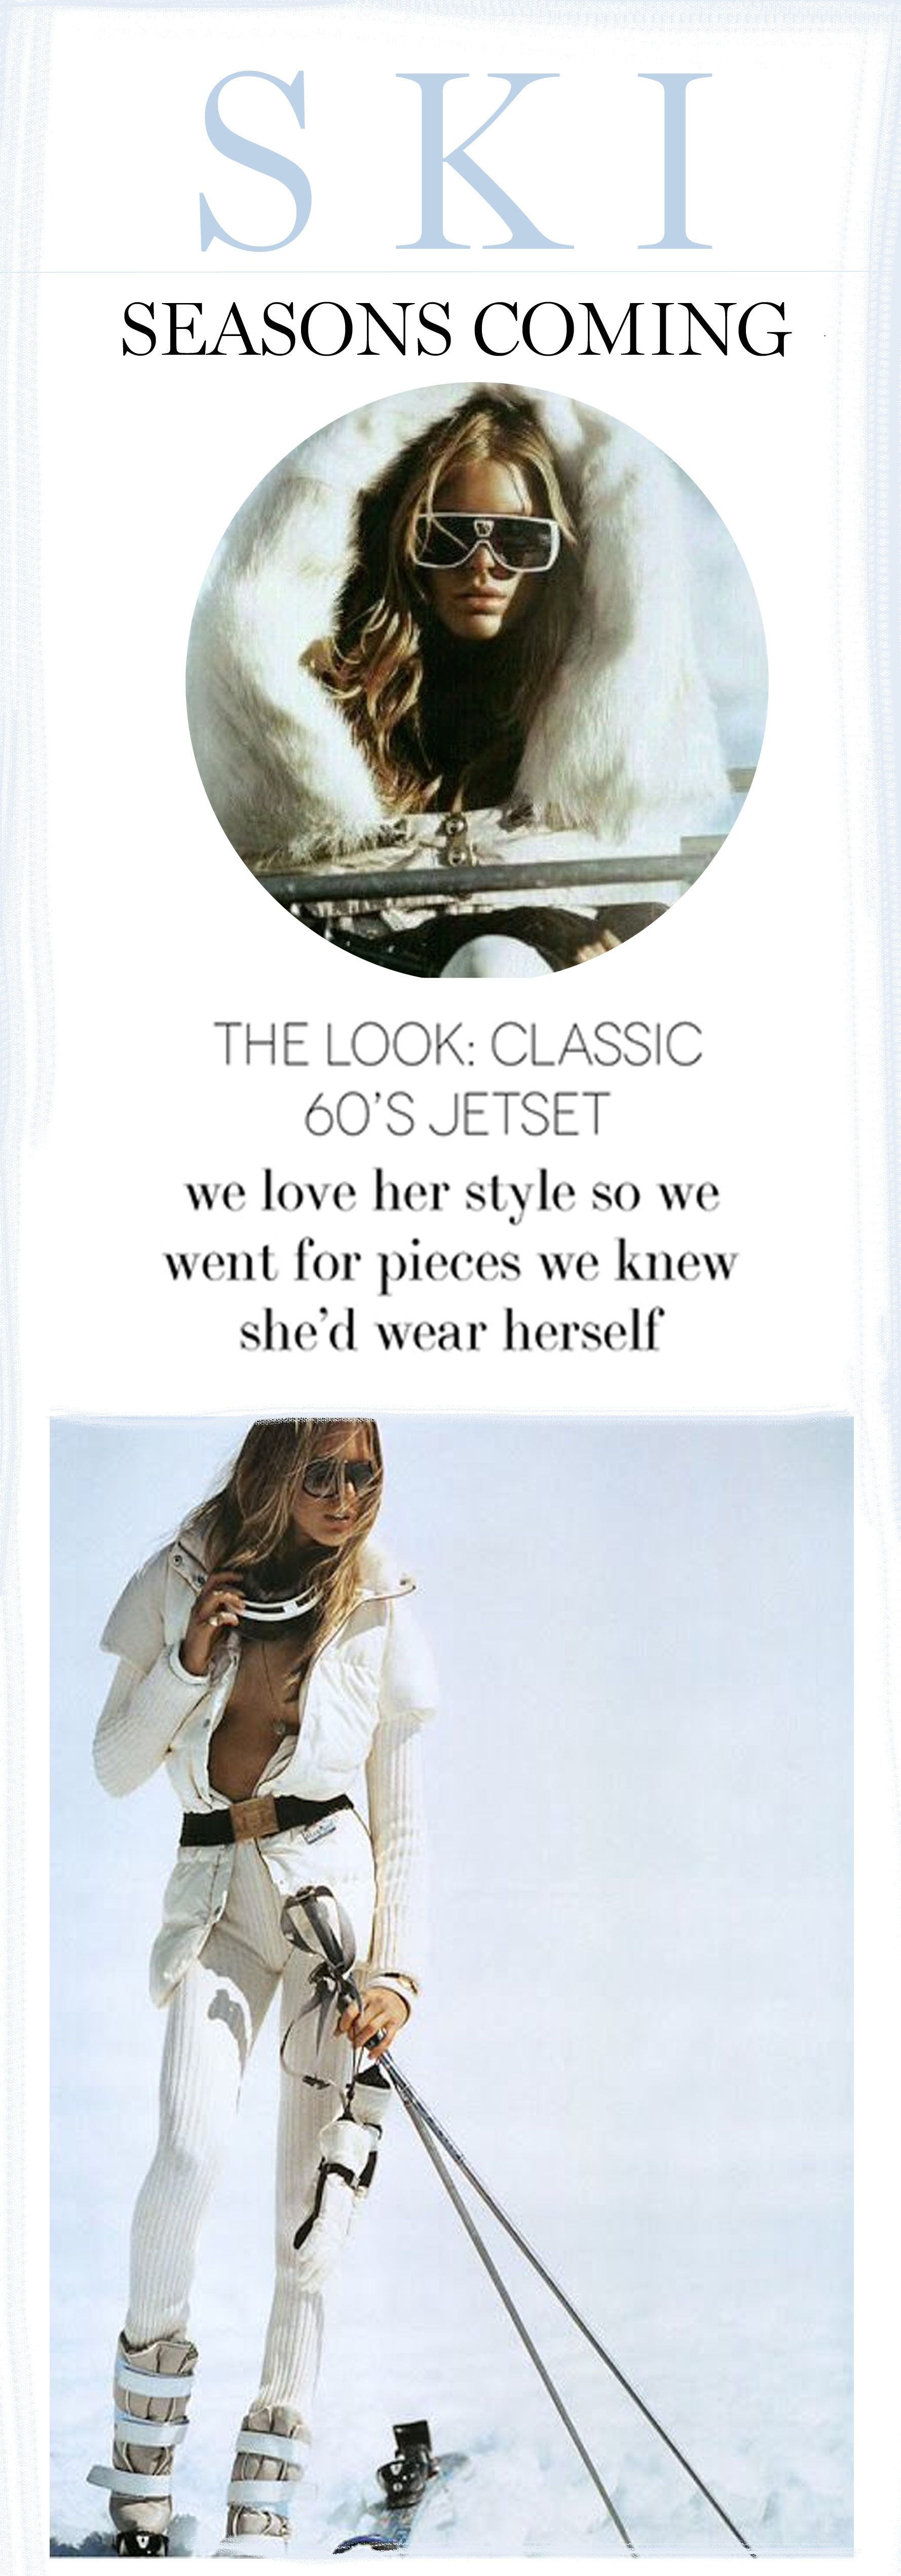
THE SKI EDIT
Sponsors

Author Archives: Elle Liberachi
Pretty, little things ….

♡
Fall in LOVE With Colour Clash!
Over the last few weeks I have received lots of questions on my website asking what lingerie I would recommend this Christmas & New Year.
I shoot a lot of lingerie so get to see how it actually fits, looks & feels. There are so many pretty sets that come out for Christmas/ New Year around September time.
This season I love the idea of colour clashing.
Red for Christmas & NY is always sexy but for something a little different, I shot this beautiful Colour Clash set earlier this year for Gossard which I fell in love with..
As well as the colour statement, the thick retro straps on the suspenders & bra are so sexy. It fits & supports really well & teamed with knit hold ups its the perfect piece for winter!
Some behind the scenes of me wearing Colour Clash on the Gossard SS13 campaign shoot…I didn’t want to take it off ;- )


See here for full details from the Gossard website ..
Tip: I like to wear the knickers over the suspender straps instead of underneath! Much more practical if you are wearing the set underneath a dress 😉 See below..
Happy New Year!!!
Love,
Elle ♡
Product shot: Gossard.com
Suspender shot: Agent Provocateur
Campaign shot: Cameron Wilson / One Mega Management
Girls on the go…How to NAIL IT!


I recently shot the jewellery campaign for Boodles and the lovely manicurist Rachel from One Mega Management introduced me to something amazing which I really want to share with you. I saw it briefly at fashion week & in the gift lounge at the Grammy Awards in LA but assumed it was just your typical gel!
How wrong could I be…

Behind the scenes of the Boodles Shoot, shot at The Savoy
It takes a lot to get me excited about beauty tools but I can honestly say I am now obsessed with this new nail brand
its on my Christmas list without a doubt.

Red Carpet Manicure…
The gel trend has been around for sometime in salons but, this is a new range of LED gel nail varnishes which lasts for weeks that you can now do at home with this new starter kit.

Its an innovation in nail colour – has a high shine finish, lasts for weeks and dries instantly what more could you want ?!
I can never keep my hands still long enough to get the perfect finish, I always smudge it, stick my hair to it , stroke the dog and somehow ruin my 40 minutes of perfect painting! So when it comes to a long lasting un chipped colour I have to get them done professionally but this is the answer for girls on the go! No drying time needed.
My girlfriends love changing up their nails every week and going for a statement colour,
metallic foil or nail art so this is most definitly the perfect christmas gift …
The kit costs around £89.95 ($144) but when one shellac or gel costs around £40 – £60.
This is well worth saving for as it has around 10 -15 applications in the set.
Some of my favourite shades for winter from RedCarpet Manicure-


The Transformative ‘Shimmering Nights’ collection adds sparkle to manicured nails and doubles your colour palette by transforming bold base shades to softer tones with a light sheen. Apply over the top of any colour and then seal with the Brilliance Seal & Shine Top Coat Gel as usual to transform your nails.
Whats your favourite nail/glitter art?
love,
Elle ♡
Today Im wearing White Hot :

3D Boost! Hair solution…

(BRA BY Gossard.com)HAIR SOLUTION – Making Waves“3D BOOST”
I get a lot of emails about how I style my hair so I wanted to do a quick step guide to Mastering the bouncy beach/bed look some of you are after but keeping it natural and effortless.
Washing hair everyday is a huge No, No to keep it in condition but, if you’re like me 2/3 days after washing my hair, it gets really heavy and flat and all I want to do is wash it especially if I am going somewhere.
You don’t want to be spending hours blowdrying and styling over the Christmas holidays so, this is a really quick & easy hair solution that will give you big bouncy Bardot hair in 10 15 minutes to revamp heavy hair and give you more time to have fun.
I call it my 3D boost so on the 3rd DAY you’ll see me sporting this look if I haven’t had much time…It works better on hair that is not just washed as it holds the texture much better.
The first thing to remember when doing the 3D boost is to make sure throughout styling that your hair remains soft, tangible and brushed out (you should be able to gauge what is enough when adding the hair spray/dry shampoo)
Crispy curls or hair that looks like it won’t move is a little dated so go with less is more & get your hairbrush to do the work.
A great tip :” Spray dry shampoo on your hair before tonging it and it will hold the curl better”
You will need:
♡ x2 Hair clips
♡ x1 Bristle brush
♡ x2 Rollers
♡ x1 Teasing comb
♡ x1 Hairspray
♡ Straighteners
♡ A few Bobby pins/grips
♡ Dry Shampoo
12 STEPS TO 3D HAIR
Step 1:
Brush your hair out with the bristle brush, spritz with Dry shampoo in the roots and a tiny bit in the mid length & ends.
Step 2:
Place a velcro roller in your fringe, curling it backwards towards the crown of your head. Pin it securely with a Bobby pin/grip and place another velcro roller at the back (crown of your head) then secure with bobby pin.
We will back comb this later.
Step 3:
Pull all your hair forwards over both shoulders so it sits around your face.
Take the front section on one side (about 2 inches thick) and with your straighteners twist it & curl away from you face until you get to the end of the hair. Hold it in this position for a good 20 seconds with the hair wrapped round the barrel of the straighteners. Make sure they are thick sections rather than thin ones which will go more stringy and not hold the hair together.
Step 4:
Pull the straighteners out of the wrap but cup the curl in your hand for 10 seconds until it cools (Be careful here as it will be really hot)
Repeat this with each section until you have got to the back of your head. I usually have to curl 4 – 5 sections on each side. Then begin on the other side making sure not to brush anything out yet.
Step 5:
Put both hands/finger tips on the scalp of your head and begin to massage & push your fingers towards your parting, teasing the roots up.
Step 6:
Using your bristle brush gently brush the top part of your hair to make it soft & texturised being really careful not to brush the bottom part with the curls you have just made.
Step 7:
Spritz some hair spray just above your ears on the underside of your hair, let it dry for a few seconds than using your bristle brush, brush upwards above your ear and use your finger to tease it up and over/away from your ear & face. This should make it stand off your face.

Step 8:
Gently tease the ends of your hair with the bristle brush and brush out and upwards on random small sections of hair. It’s good if some bits are more brushed out & fluffy then others. This will take out some of the waves but your hair will keep the bend. If you prefer a straighter look but with bend and volume just keep brushing it out.
Step 9:
Ok now this is the tricky bit! Smoothing – straighten the top part of you hair with the straightners and stop at your ears. Then re tease the roots back up with your fingers like before. This should give you a smooth finish rather than looking like you have been dragged through a hedge ! 😉
Step 10:
Take out your rollers and create your parting wherever your hair naturally falls. Spritz your finger & thumb with hair spray and squeeze your fringe between your finger and thumb at the root. This should keep the “love heart lift” around your face.
Step 11:
Pick up the hair that was in the back roller and gently tease with the comb then back comb it to how you would like but keeping it natural & soft.
Step 12:
Spray a small amount of hairspray on the ends of your hair and tease with fingers, rubbing some bits together. Just play with it with your comb & fingers to get the texture and lift you want and you should be good to go!

________________________________________________
Tip : If you you feel there is not enough bounce in the bottom of your hair just spray a bit more dry shampoo on it and it should boost the volume.
Once you have got this down it should take about 15 minutes & is a really easy look to wear when you haven’t got much time!
Would love to see some pictures of your 3D Hair!
Love,
Elle ♡
www.elleliberachi.com
Image: Gossard Lingerie, Brigitte Bardot